

.webp)
This blog is designed to help beginners and aspiring DevOps engineers understand Jenkins and its role in CI/CD automation. Instead of repeating basic definitions, the following sections will walk you through the practical and conceptual aspects of using Jenkins in real-world projects.
In this blog, you will learn:
- The role of Jenkins in modern CI/CD pipelines
- How Jenkins fits into a DevOps workflow
- Key components of Jenkins, including pipelines, agents, and plugins
- How to create your first CI/CD pipeline using Jenkins
- The complete workflow of Jenkins, from code commit to deployment
- How Jenkins integrates with Docker and Kubernetes
- Best practices for using Jenkins in cloud environments such as AWS, Azure, and Google Cloud
By the end of this guide, you will have a clear understanding of how Jenkins automates build, test, and deployment processes and how it is used in real-world DevOps environments.
Constantly Facing Software Glitches and Unexpected Downtime?
Let's build software that not only meets your needs—but exceeds your expectations
Understanding Continuous Integration and Continuous Deployment (CI/CD)
CI/CD automates processes in DevOps, triggering sequences for commits or pull requests, including compilation, testing, and deployment, enhancing reliability and reducing errors.
- CI/CD helps teams shorten release cycles
- It increases quality with repeatable testing frameworks
- It improves functional testing, integration testing, and delivery confidence
- It supports scale for growing projects and large tech stack complexity
What is Continuous Integration
Continuous Integration (CI) involves developers continuously merging code changes into a common branch, verifying quality through automated processes like build tools and unit tests, aligning with fundamental software testing principles and contemporary testing concepts.
- Every commit triggers CI jobs automatically
- CI runs unit testing, static checks, and build packaging
- CI logs results in Console Output and build logs
- CI stores build artifacts to ensure reproducibility
.webp)
What is Continuous Deployment?
Continuous Deployment (CD), an extension of CI, automates deployment of successful changes; teams may use manual approvals or automatic pushes. Jenkins supports both.
- CD automates delivery to environment targets (dev/staging/prod)
- Can include smoke tests and end to end testing
- Can use containerization with docker hub, ImageRepository, and Helm
- Enables fast releases with controlled ci cd services patterns
.webp)
| Feature | Continuous Integration (CI) | Continuous Deployment (CD) |
|---|---|---|
| Purpose | Integrate code changes frequently and validate them through automated builds and tests | Automatically release validated code changes to production |
| Scope | Code integration, build, and testing | End-to-end pipeline from code commit to production deployment |
| Automation Level | Automates build and test processes | Automates build, test, release, and production deployment |
| Failure Impact | Limited to development or staging environments | Direct impact on production if issues occur |
| Production Release | Not included | Included (automatic, no manual approval) |
| Best For | Teams focused on code quality and collaboration | Mature DevOps teams practicing rapid, reliable releases |
What is Jenkins?
Jenkins is an open-source CI/CD server that builds or deploys applications in React/Node.js environments. Its flexibility, extensibility via plugins, and compatibility with various technology stacks make it a popular choice for automation.
- Jenkins coordinates building, testing, and release pipelines
- Supports both UI and code-based configuration
- Works with Git repositories and enterprise tooling like jira software
- Fits well into CI/CD integration and DevOps automation
Overview of Jenkins
Jenkins operates as a standalone service on various OS or in containers, scheduling tasks via the Controller and allowing pipeline configuration through UI or Jenkinsfile.
- Jenkins supports distributed builds using Jenkins Agent nodes
- Works with GitHub, gitlab, and Bitbucket
- Offers build history, Stage View, and notifications
- Supports Blue Ocean UI for cleaner pipeline visualization
Key Features of Jenkins
Jenkins is extensively used for CI/CD, supporting simple builds as well as complex enterprise solutions with Terraform, Ansible, and cloud pipelines effectively.
- Declarative pipeline and scripted pipeline in Jenkins pipeline support
- Builds on agents, allowing for parallel execution
- Integrations: Jenkins integration with GitHub, Slack, Jira, SonarQ
- Test support: JUnit, Selenium, coverage, reports, HTML Reports
- Deployment methods: Kubernetes + Helm, Elastic Beanstalk, Heroku CL.
How Jenkins works
Jenkins works by automating the build, test, and deployment process of software applications through a structured CI/CD pipeline. It continuously monitors source code repositories and triggers automated workflows whenever changes are detected.
Step 1: Code Changes in Version Control
The Jenkins workflow starts when a developer pushes code changes to a version control system such as GitHub, GitLab, or Bitbucket. These repositories act as the single source of truth for the application code.
Step 2: Jenkins Trigger
Jenkins detects the code change using:
- Webhooks
- Scheduled jobs
- Polling the source code repository
Once a change is detected, depending on the technology stack.
Step 3: Pipeline Execution
Jenkins executes a predefined pipeline that is configured either through the Jenkins UI or, preferably, via a Jenkinsfile. The Jenkinsfile defines each stage of the CI/CD process as code, making the pipeline version-controlled and repeatable.
Step 4: Build Process
During the build stage, Jenkins compiles the source code and prepares the application for testing. This may involve tools such as Maven, Gradle, or npm, require manual approval for production releases.
Step 5: Automated Testing
Jenkins runs automated tests to validate the application. These tests help detect bugs early and may include unit tests, integration tests, or UI tests using frameworks like JUnit or Selenium.
Step 6: Artifact Creation
After successful testing, Jenkins generates build artifacts such as JAR/WAR files or Docker images. These artifacts can be stored in repositories like Nexus or Artifactory for future deployments.
Step 7: Deployment
Jenkins deploys the application to target environments such as development, staging, or production. Deployments can be fully automated or Jenkins automatically initiates the pipeline.
Step 8: Feedback and Notifications
Finally, Jenkins provides feedback by sending build and deployment status notifications through email or messaging tools like Slack. This allows teams to quickly respond to failures or confirm successful releases.
.webp)
Role of Jenkins Agents
Jenkins Agents do the work. The Controller schedules the jobs, and agents run the build steps. That is powerful, because each agent may be specialized - for example, one for Java builds, one for Docker builds, one for Kubernetes deployment.
- Agents can run in VMs, on-prem servers, or containers
- Helps optimize resources and reduce bottlenecks
- Makes scale easy: add more agents as workload increases
- Enables secure isolation between environments
Setting Up Jenkins: A Step-by-Step Guide
Setting up Jenkins isn’t hard, but doing it correctly matters. Many beginners install Jenkins quickly but later face performance issues like memory pressure, slow builds, or drive space problems. A stable foundation helps keep Jenkins CI/CD consistent.
- Choose hosting type: VM, cloud, or standalone Docker
- Configure credentials early for secure access
- Plan storage for logs, artifacts, and plugins
- Consider production-grade Jenkins hosting from day 1
System Requirements for Jenkins
Jenkins runs well on modest machines, but resource needs grow with team size and pipeline complexity. If you’re working on enterprise CI/CD, plan ahead for scaling.
- Java required (commonly Java 17 or newer like Java 21)
- RAM recommendation: 4–8 GB minimum for small teams
- SSD storage helps performance, especially for build caching
- Network access to SCM and dependency registries
Basic Jenkins Configuration
After installation, basic configuration ensures Jenkins is usable and secure. This includes admin setup, credentials management, plugin installation, and agent configuration.
- Configure admin users and permissions
- Add credentials (Git tokens, SSH keys, cloud keys)
- Install plugins: GitHub, Pipeline, Docker, Kubernetes, SonarQube
- Setup pipeline UI and default build directory policies
Installation Process
You can install Jenkins through a package manager, Docker, or cloud marketplace images, with Docker being ideal for beginners and a dedicated Jenkins Controller + agents for enterprises.
1:Setup wizard: Open the Windows Installer; the Setup Wizard will appear. Click Next to start.
2:Select destination folder: Choose the folder for the installation, then click Next.
3:Service logon credentials:: It’s recommended to install Jenkins as a Windows service using a local or domain user. Enter the domain username and password, test the credentials, and click Next.
4:Port selection: Specify the port for Jenkins and use the Test Port button to ensure it is free, indicated by a green tick, then click Next.
5:Select Java home directory : The wizard detects your Java installation and populates the directory; click Next.
6:Custom setup : Select additional services to install.
7:Install Jenkins : Click Install to begin the setup.
Integrating Jenkins with GitHub
GitHub integration automates push requests, enhancing teamwork. Jenkins integrates well with GitHub Actions, often using both for light automation and complex CI/CD orchestration.
- Jenkins can make use of the push events on the GitHub platform.
- Supports PR checks, test gating, and merge validation
- Provides deep logs, artifacts, and long-run pipelines
- Strong enterprise compatibility beyond GitHub alone
.webp)
Benefits of Jenkins and GitHub Integration
When Jenkins is connected to GitHub, every update becomes measurable. This creates visibility into quality and speeds up troubleshooting.
- Faster feedback on new changes
- Automated pipeline execution for every PR
- Easy traceability to commits and release versions
- Supports compliance and audit needs via logs and artifacts
Setting Up GitHub Webhooks
Webhooks notify Jenkins when something changes in a GitHub repo. This is how Jenkins triggers builds automatically for events like pushes and PRs.
- Create webhook in GitHub repository settings
- Set the webhook URL (your Jenkins endpoint)
- Choose events: push, pull request
- Validate webhook delivery logs in GitHub
Creating your first CI/CD pipelines
A pipeline in Jenkins consists of steps for build, test, and deploy, using UI or Jenkinsfile for configuration.
To get started quickly with Pipeline:
- Install Docker Pipeline plugin via Manage Jenkins > Plugins page.
- Redirected to the Jenkins Dashboard
.webp)
- Copy an example into your repository, naming it Jenkinsfi.
- Click New Item in Jenkins.
- Name the item (e.g., My-Pipeline) and select Multibranch Pipeline.
- Add repository source type, enter data, click Save, and execute Pipeline.
- Configure the Pipeline Section
Sample Jenkins Pipeline Script
Ref: Continue to Run multiple steps
Understanding Jenkins Pipelines
Jenkins pipelines can be Declarative Pipeline (recommended for beginners) or Scripted Pipeline (more flexible). Pipelines are typically stored in repo using Jenkinsfile—this ensures versioning and reproducibility.
- Jenkinsfile enables “pipeline script” in source control
- Each pipeline stage is visible in Stage View
- Supports parallel execution (fast builds)
- Supports advanced triggers and approvals
This is the foundation for modern CI/CD pipelines and mature DevOps.
Constantly Facing Software Glitches and Unexpected Downtime?
Let's build software that not only meets your needs—but exceeds your expectations
Building Your First Pipeline
A beginner pipeline usually includes: checkout, build, test, package, deploy. For example, a Java web application with MySQL and frontend React can build and deploy using Docker images.
- Check out from GitHub repository
- Build using Maven/Gradle build tools
- Run JUnit tests + Selenium checks
- Push Docker image to dockerhub image repository
- Deploy using Kubernetes + Helm charts
Best Practices for Using Jenkins in CI/CD
Jenkins is powerful, but it must be managed correctly. Without best practices, Jenkins becomes slow and insecure. A stable Jenkins environment ensures repeatable CI/CD outcomes.
- Treat pipelines as code, not UI-only jobs
- Standardize agent images and build environments
- Add testing gates: unit + integration + functional tests
- Use monitoring tools and performance dashboards.
Optimizing Your Jenkins Environment
Optimization is about speed, stability, and predictable results. Fast CI builds mean developers get feedback quickly and fewer delays.
- Use caching for dependencies and builds
- Use container-based agents for consistency
- Archive only necessary artifacts to save storage
- Use separate agents for heavy tasks like Docker builds
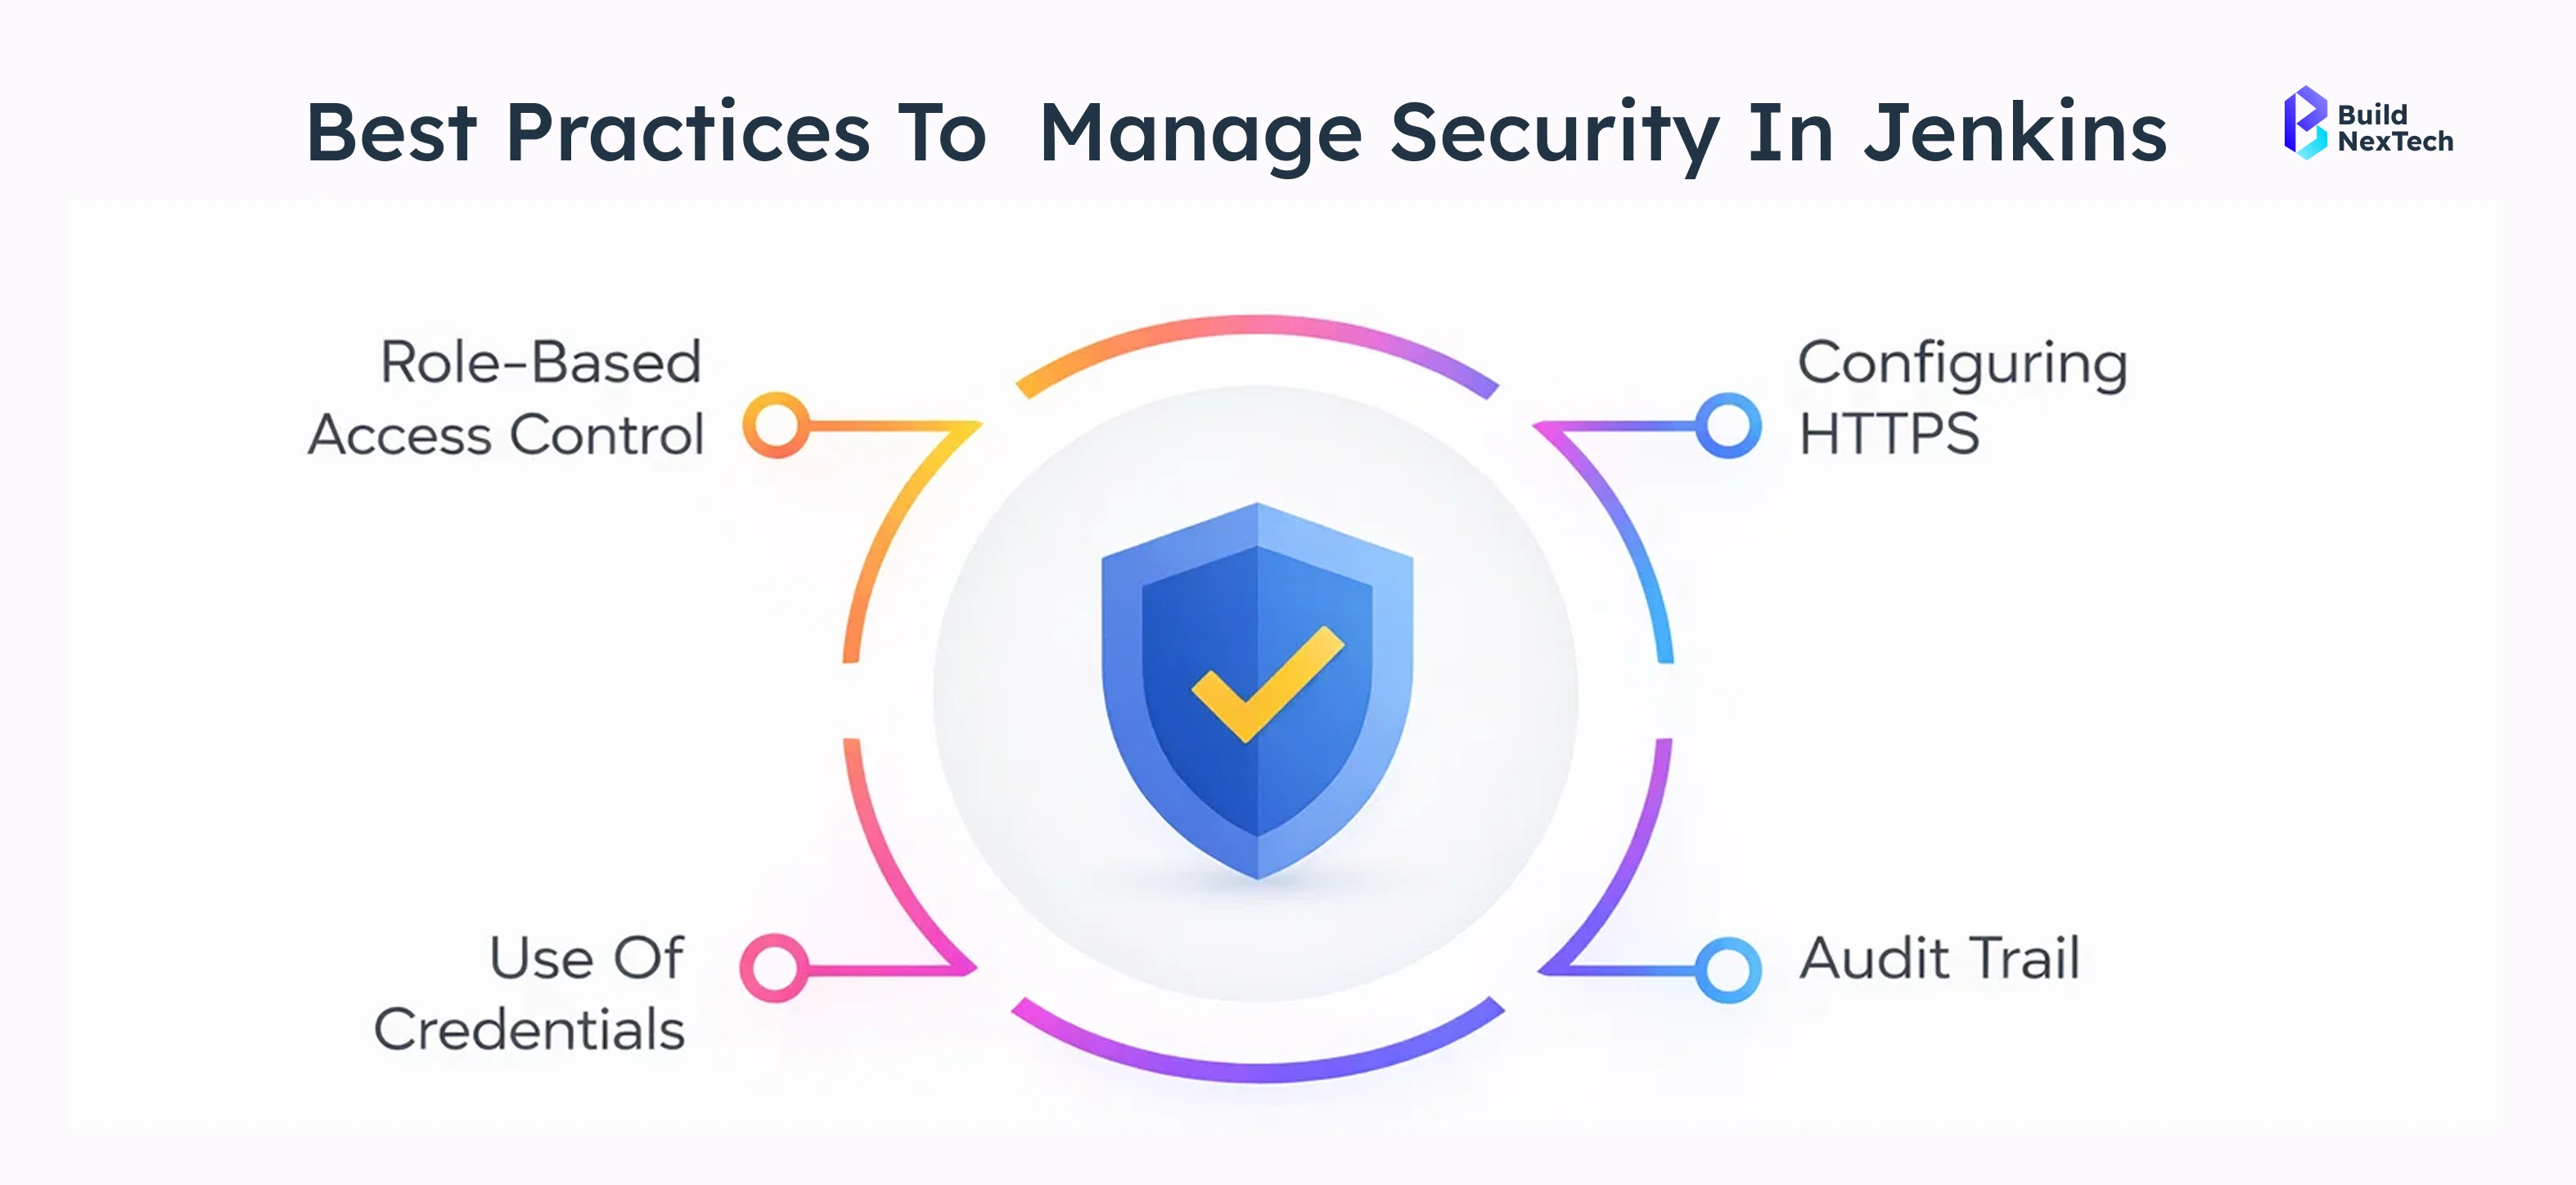
- Security Considerations
Security matters because Jenkins often holds sensitive secrets—cloud keys, deployment credentials, private repo tokens. A breach here can compromise production.
- Use least-privilege credentials
- Rotate secrets regularly
- Enable role-based access control
- Secure Jenkins hosting behind VPN / reverse proxy
- Use signed plugins and update Jenkins consistently
Troubleshooting Common Jenkins Issues
Build failures can occur from dependency updates, environment drift, missing credentials, or infrastructure issues; Jenkins aids in debugging.
- Check build logs for first failure point
- Validate environment variables and secrets
- Verify repository permissions and tokens
- Ensure agents are online and not overloaded
Identifying and Resolving Build Failures
Failures typically fall into categories: source changes, environment issues, or test failures. Strong CI/CD workflows help isolate these problems quickly.
- Investigate console output for exact error line
- Compare recent commit changes and PR diffs
- Look for flaky tests (unstable integration tests)
- Review build artifacts and HTML reports
Managing Jenkins Performance
As usage grows, Jenkins performance can degrade if logs and artifacts accumulate, plugins bloat, or the controller gets overloaded. Good housekeeping keeps Jenkins fast.
- Clean old build history periodically
- Monitor drive space and artifact retention
- Scale using more Jenkins agents
- Separate controller and agent workloads
.webp)
Conclusion: Why Jenkins Remains a Core CI/CD Tool
Jenkins stays relevant due to its flexibility and extensibility, integrating with tools like GitHub and Azure DevOps, making it essential for automating modern applications with Docker, Kubernetes, and cloud services.
- supports complex CI/CD pipelines
- Integrates with GitHub, Jira, SonarQube, and cloud targets
- Improves software testing quality via automation
- Scales with enterprise CI/CD workflows
How BNXT can Help?
Aids teams in developing robust CI/CD pipelines, emphasizing quality alongside reliability. Frugal Testing specializes in comprehensive software testing—from unit to end-to-end testing—integrated with CI/CD processes. They offer test strategy design, automation frameworks for Jenkins, performance and security testing, CI/CD readiness audits, and DevOps consulting. Partnering with Frugal Testing ensures faster and safer Jenkins pipeline deployments, enhancing implementation and quality assurance.
Constantly Facing Software Glitches and Unexpected Downtime?
Let's build software that not only meets your needs—but exceeds your expectations
People Also Ask

What is the difference between CI and CD in Jenkins?
CI focuses on integrating and testing code, while CD automates deployment after successful tests.
How does Jenkins work in a CI/CD pipeline?
Jenkins automates each stage—from code integration to deployment—using pipelines.
Is Jenkins free and open source?
Yes, Jenkins is completely free and open source.
What are the main advantages of using Jenkins for DevOps?
Automation, flexibility, scalability, and strong integrations.
Do I need coding skills to use Jenkins?
Basic scripting knowledge helps, but beginners can start with minimal coding


.webp)
.webp)
.webp)